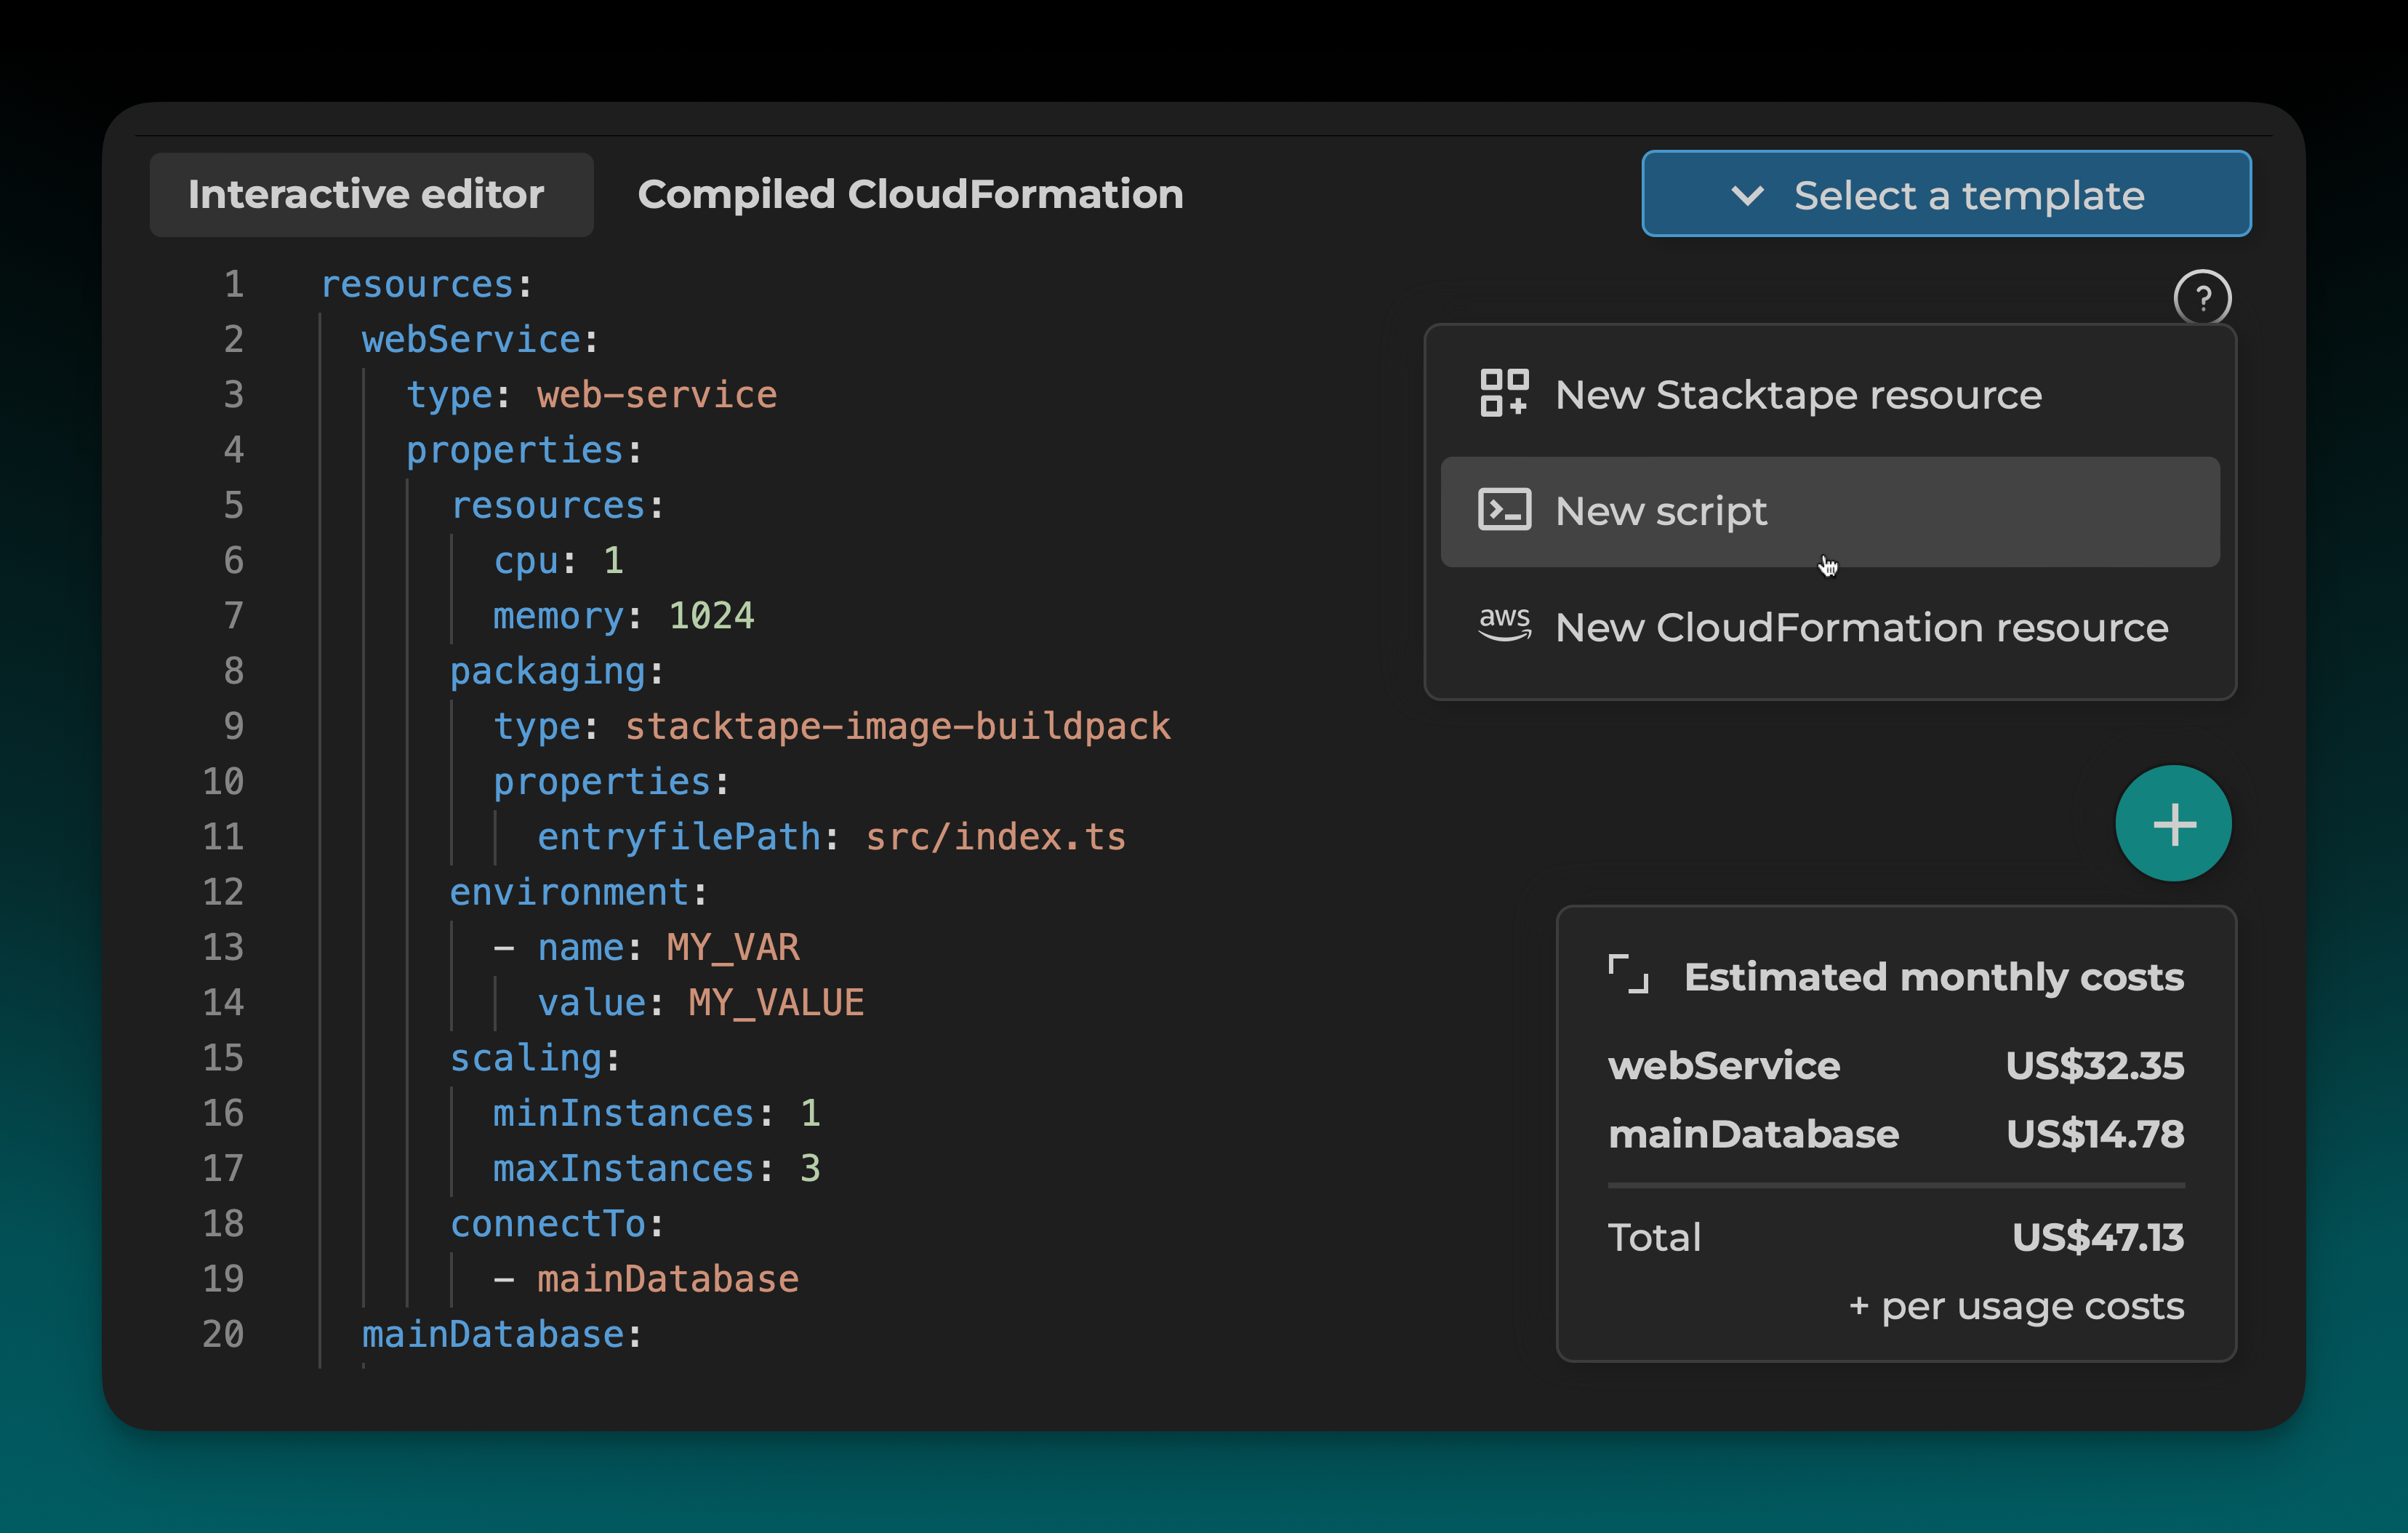
Using the Config Editor
The interactive config editor is the easiest way to write your Stacktape configuration. It provides a rich, interactive experience with features like auto-completion, validation, and built-in documentation.
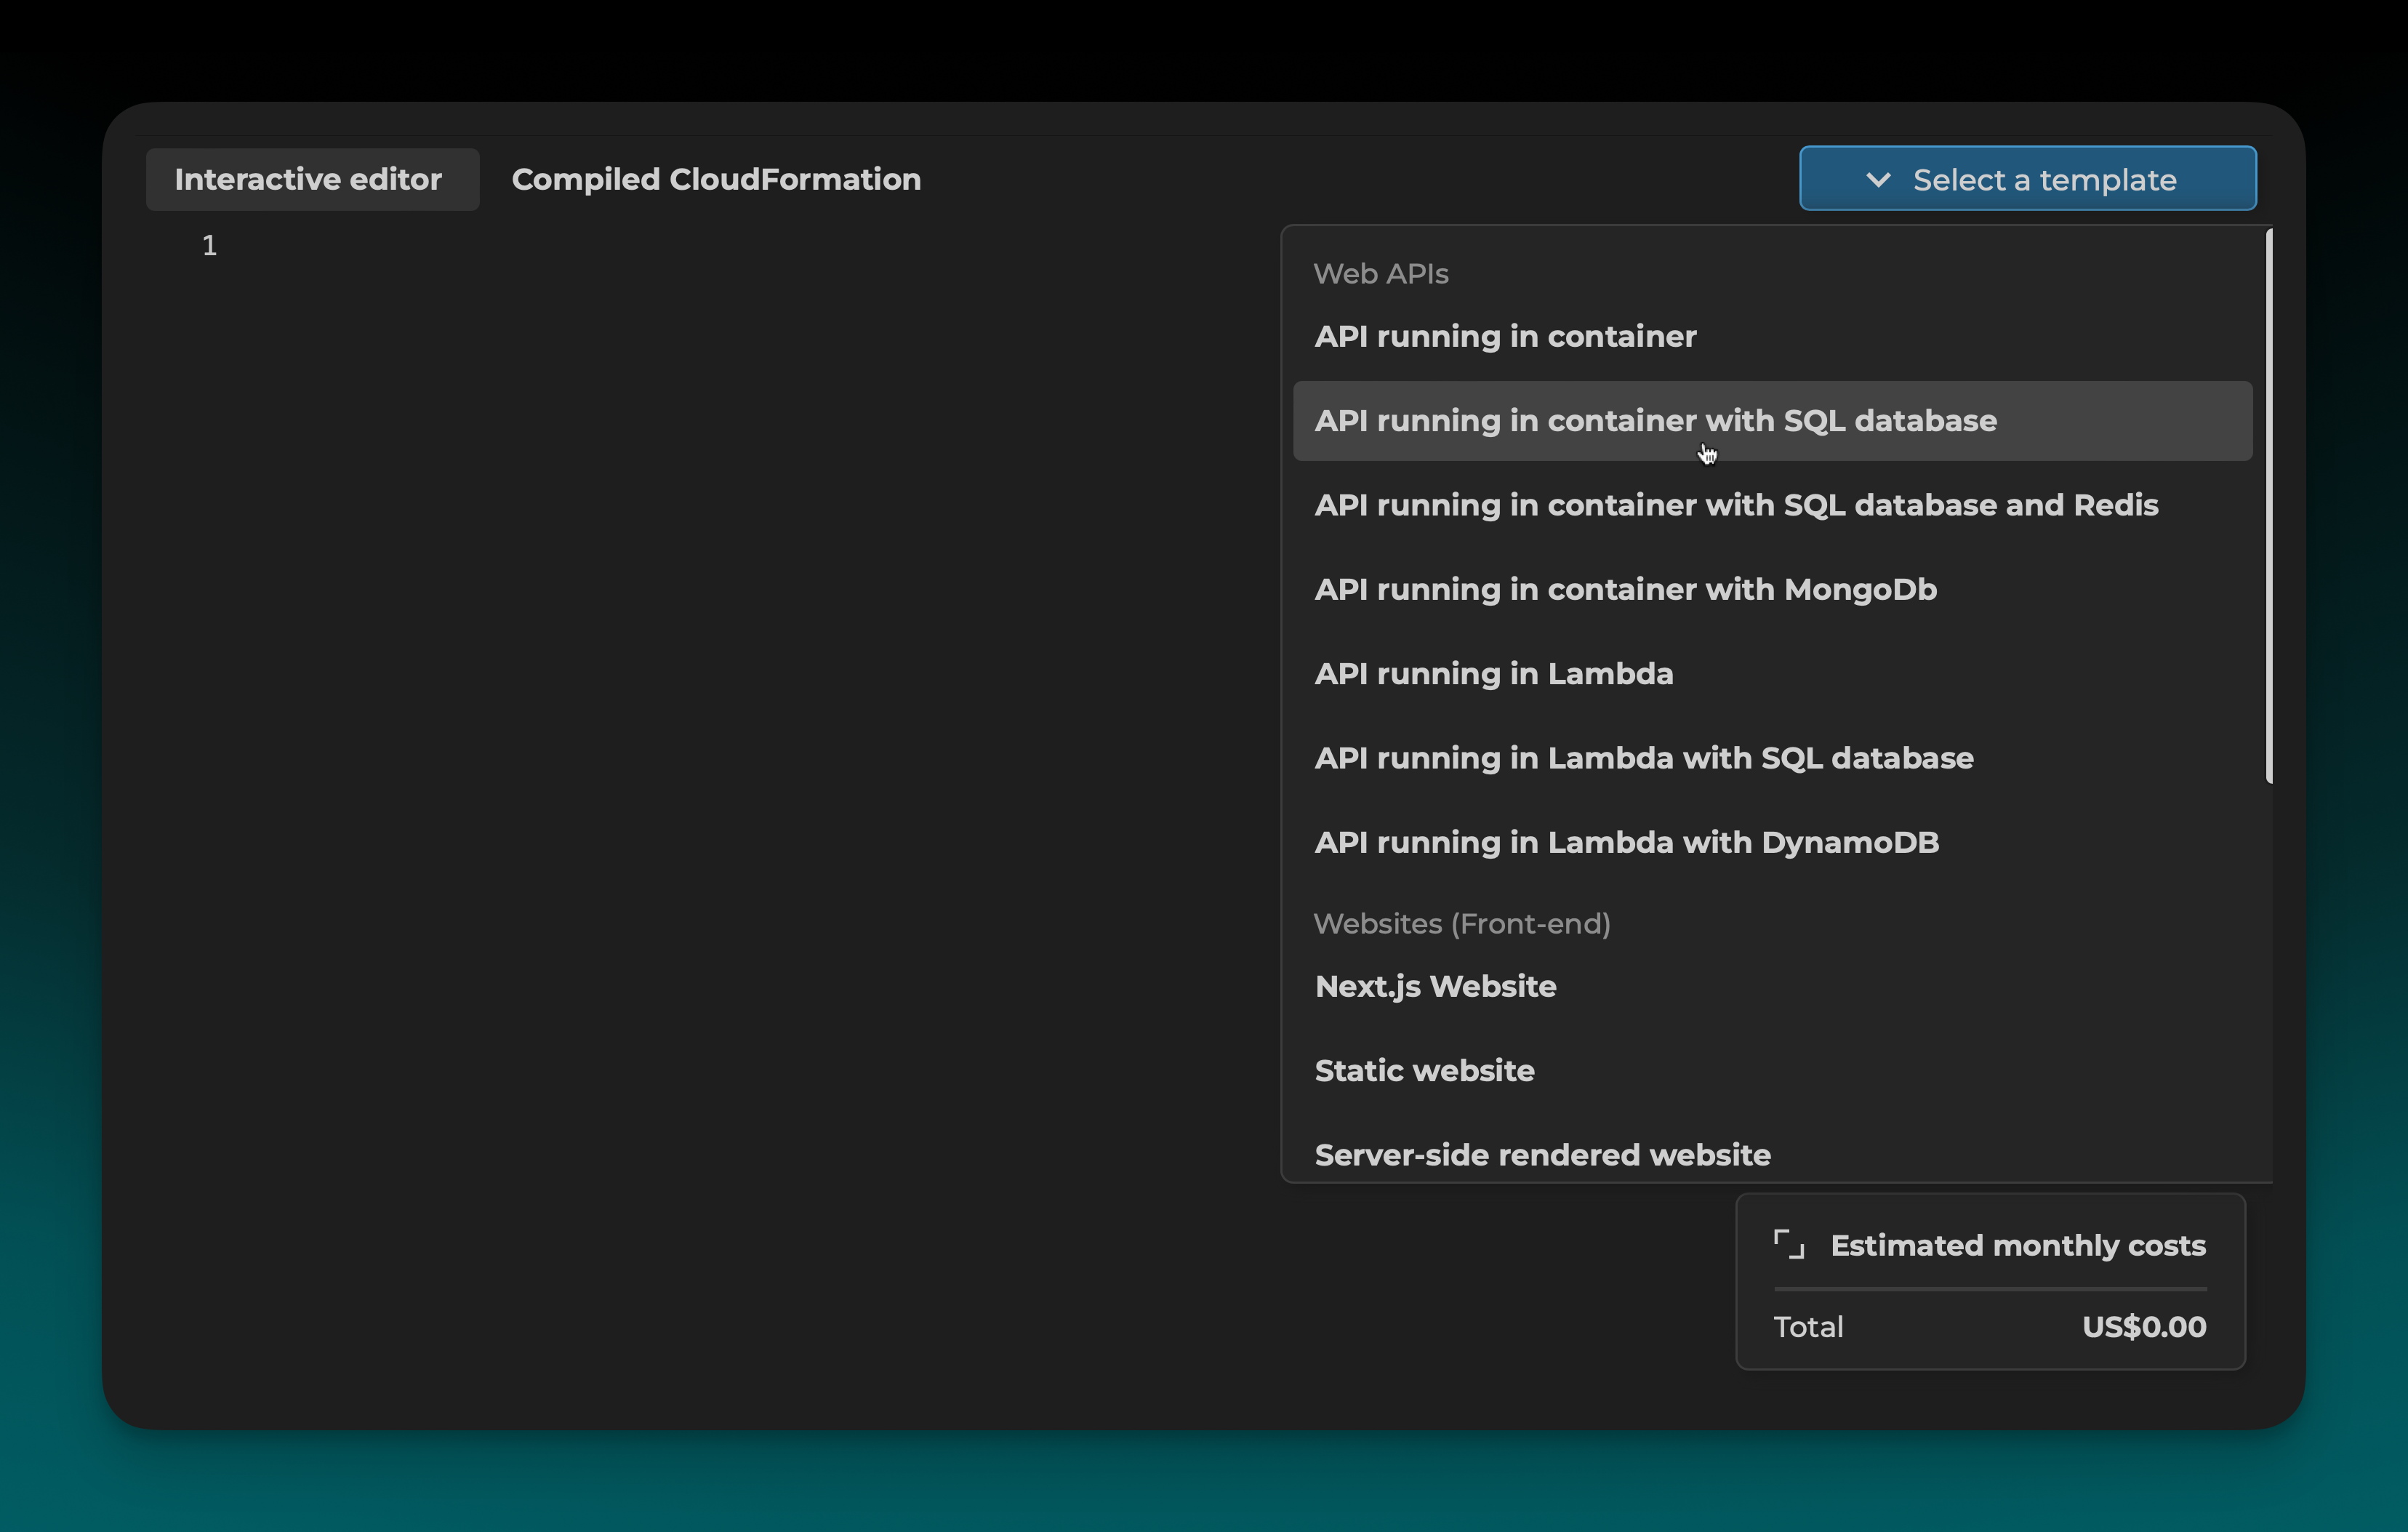
1. Select a Preset
Start by selecting a preset to generate a basic configuration for your application.
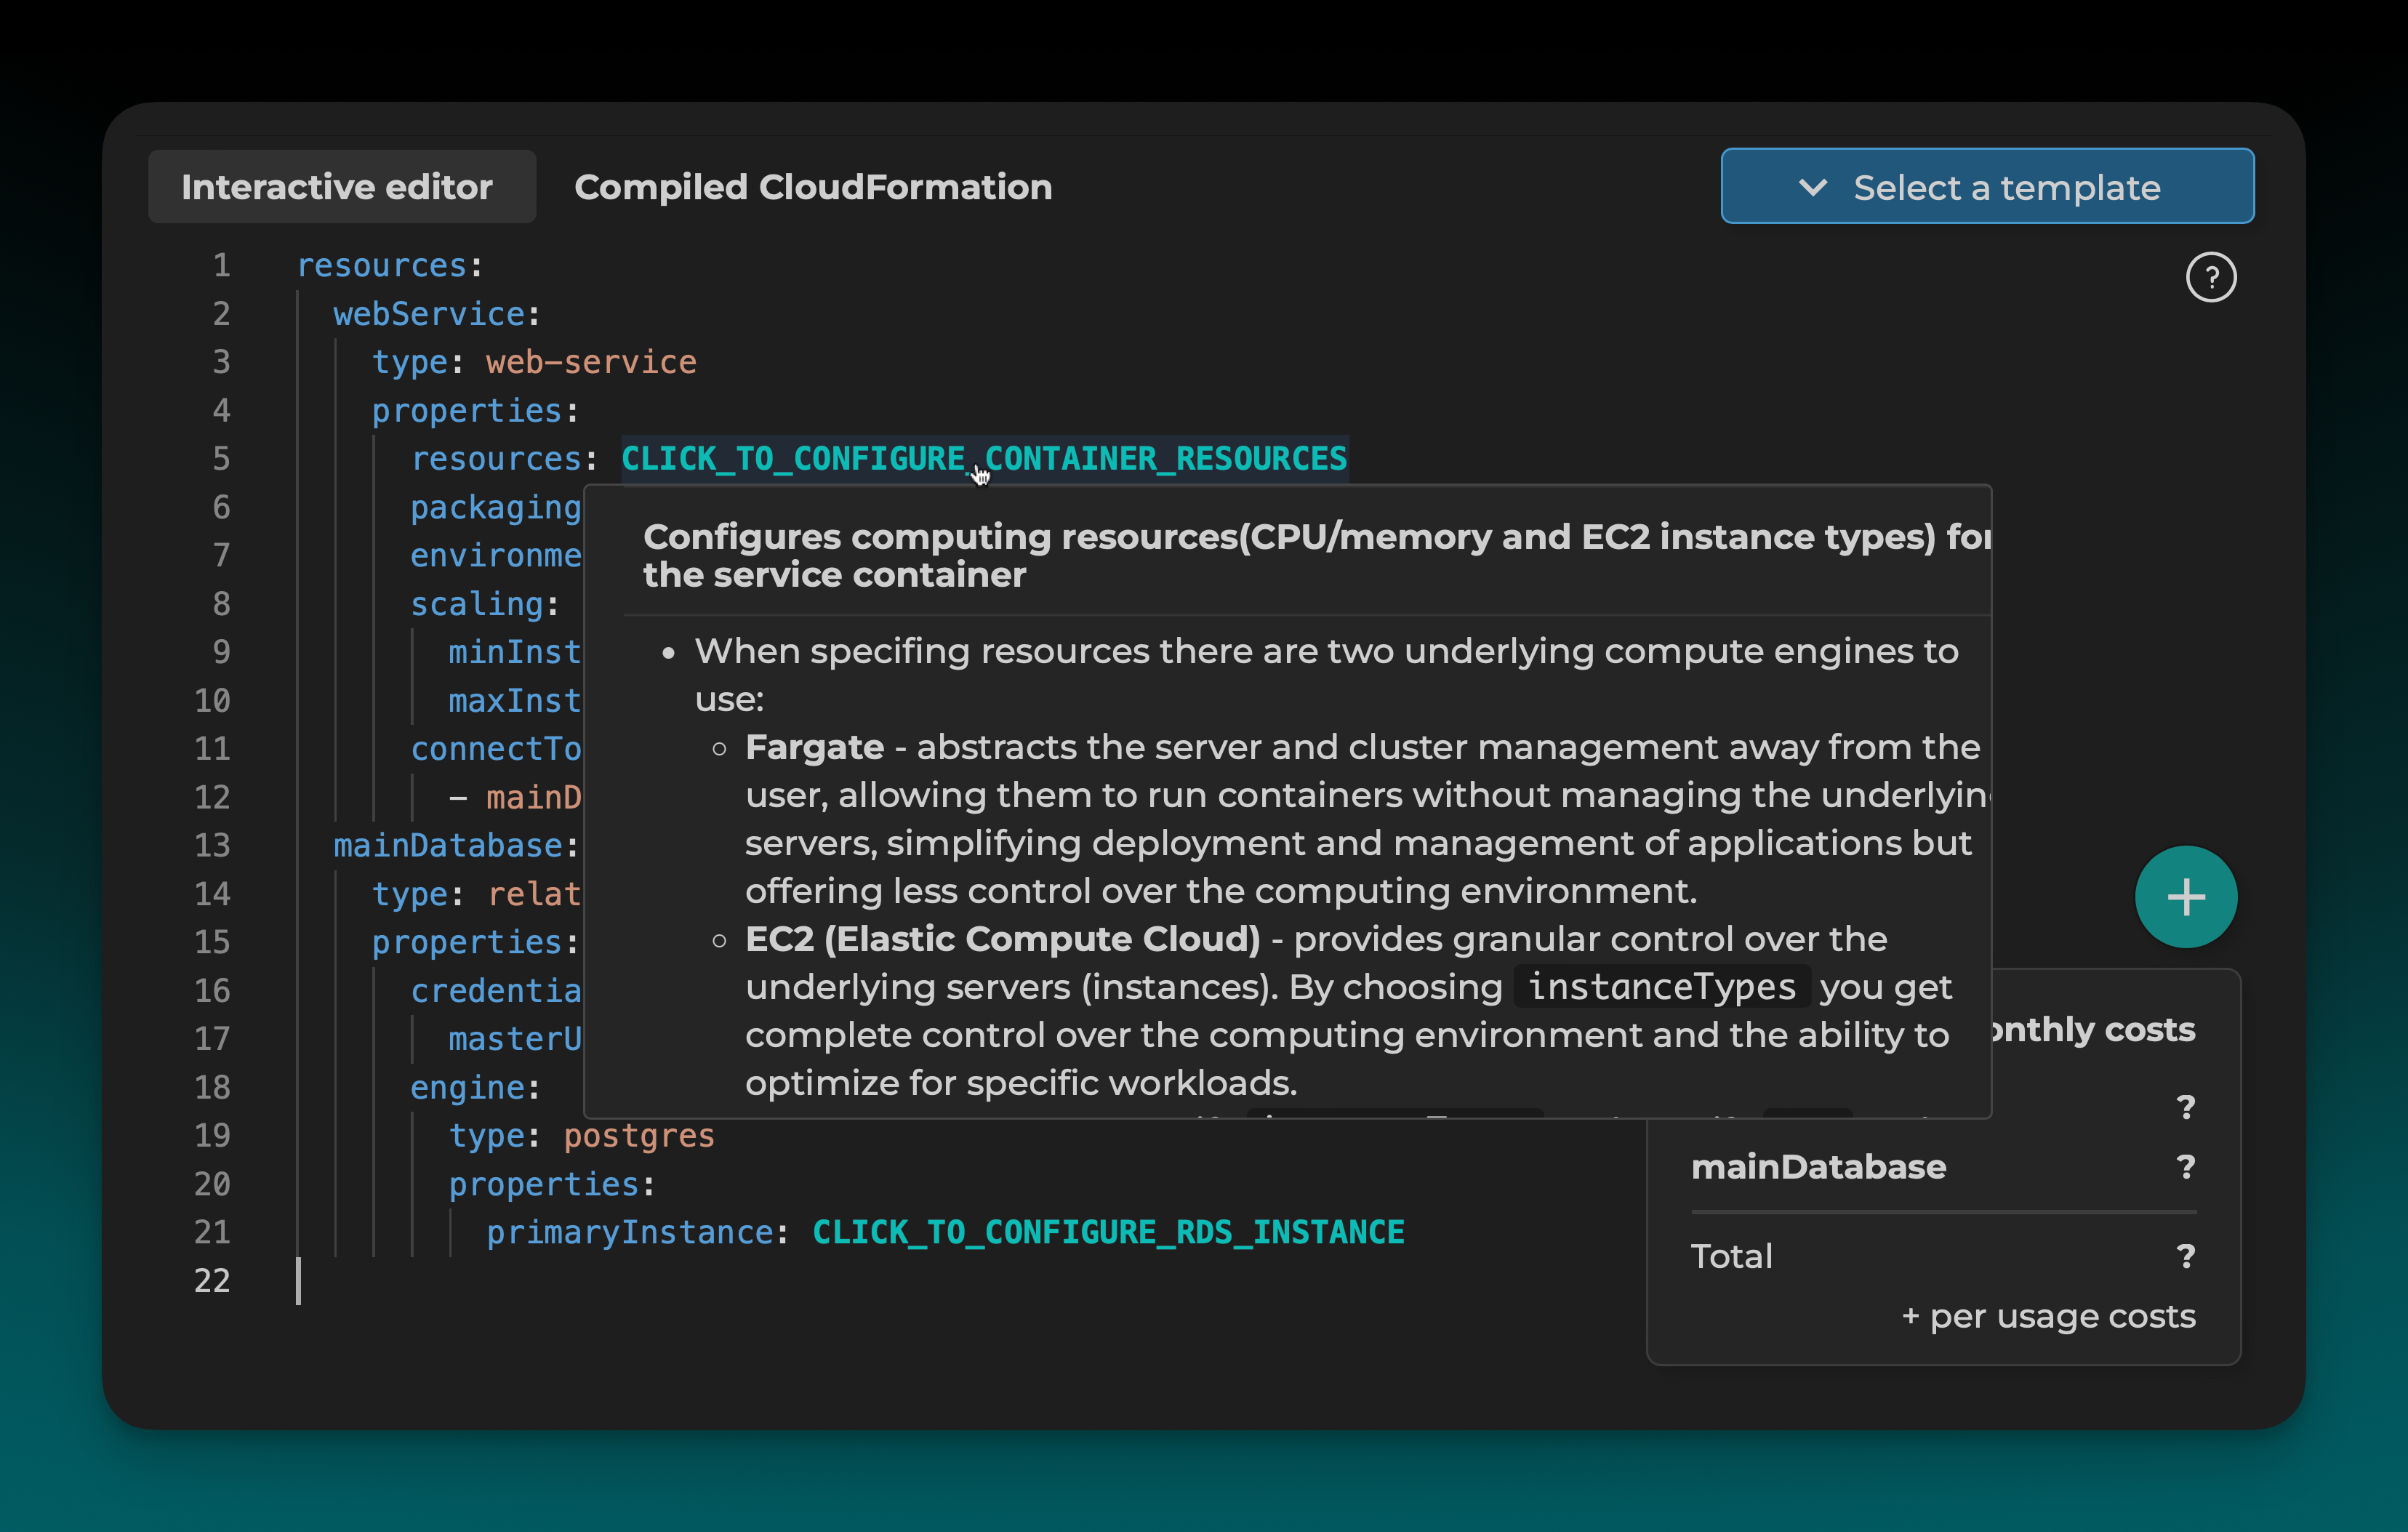
2. Configure Resource Details
Click on the capitalized, green properties to open a configuration modal and adjust the resource details.
3. View Built-in Documentation
Hover over any property to see its documentation.
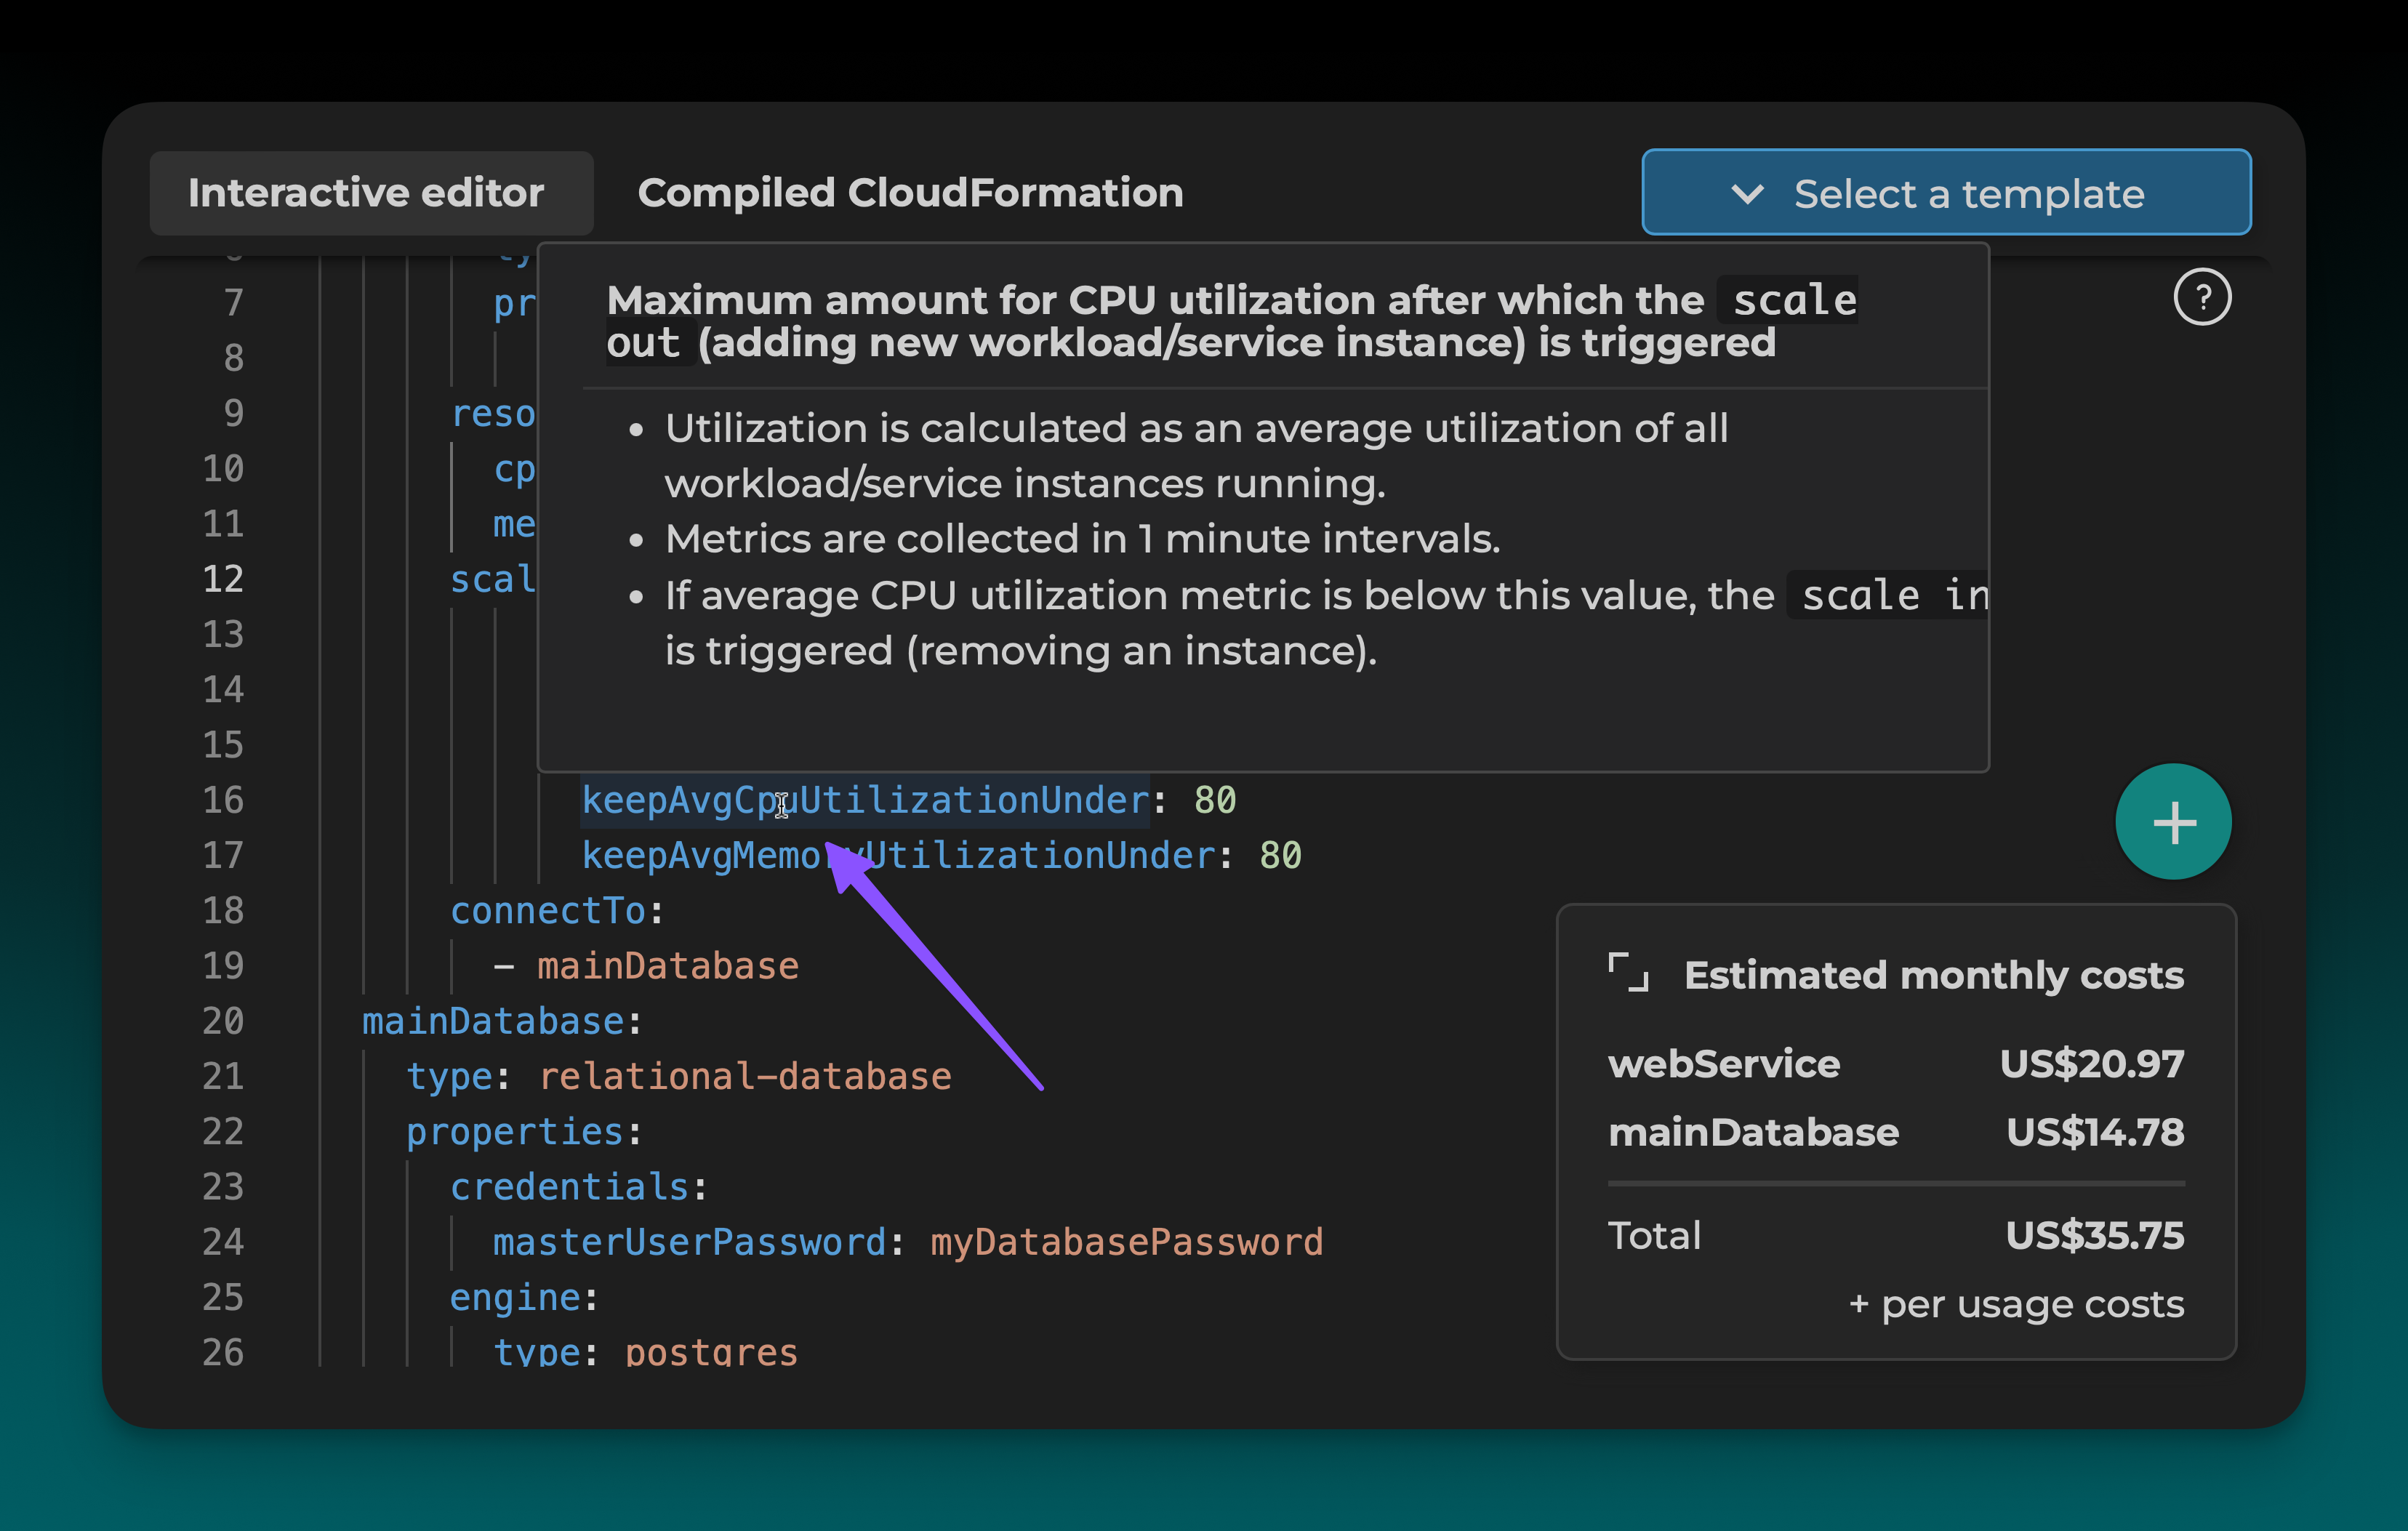
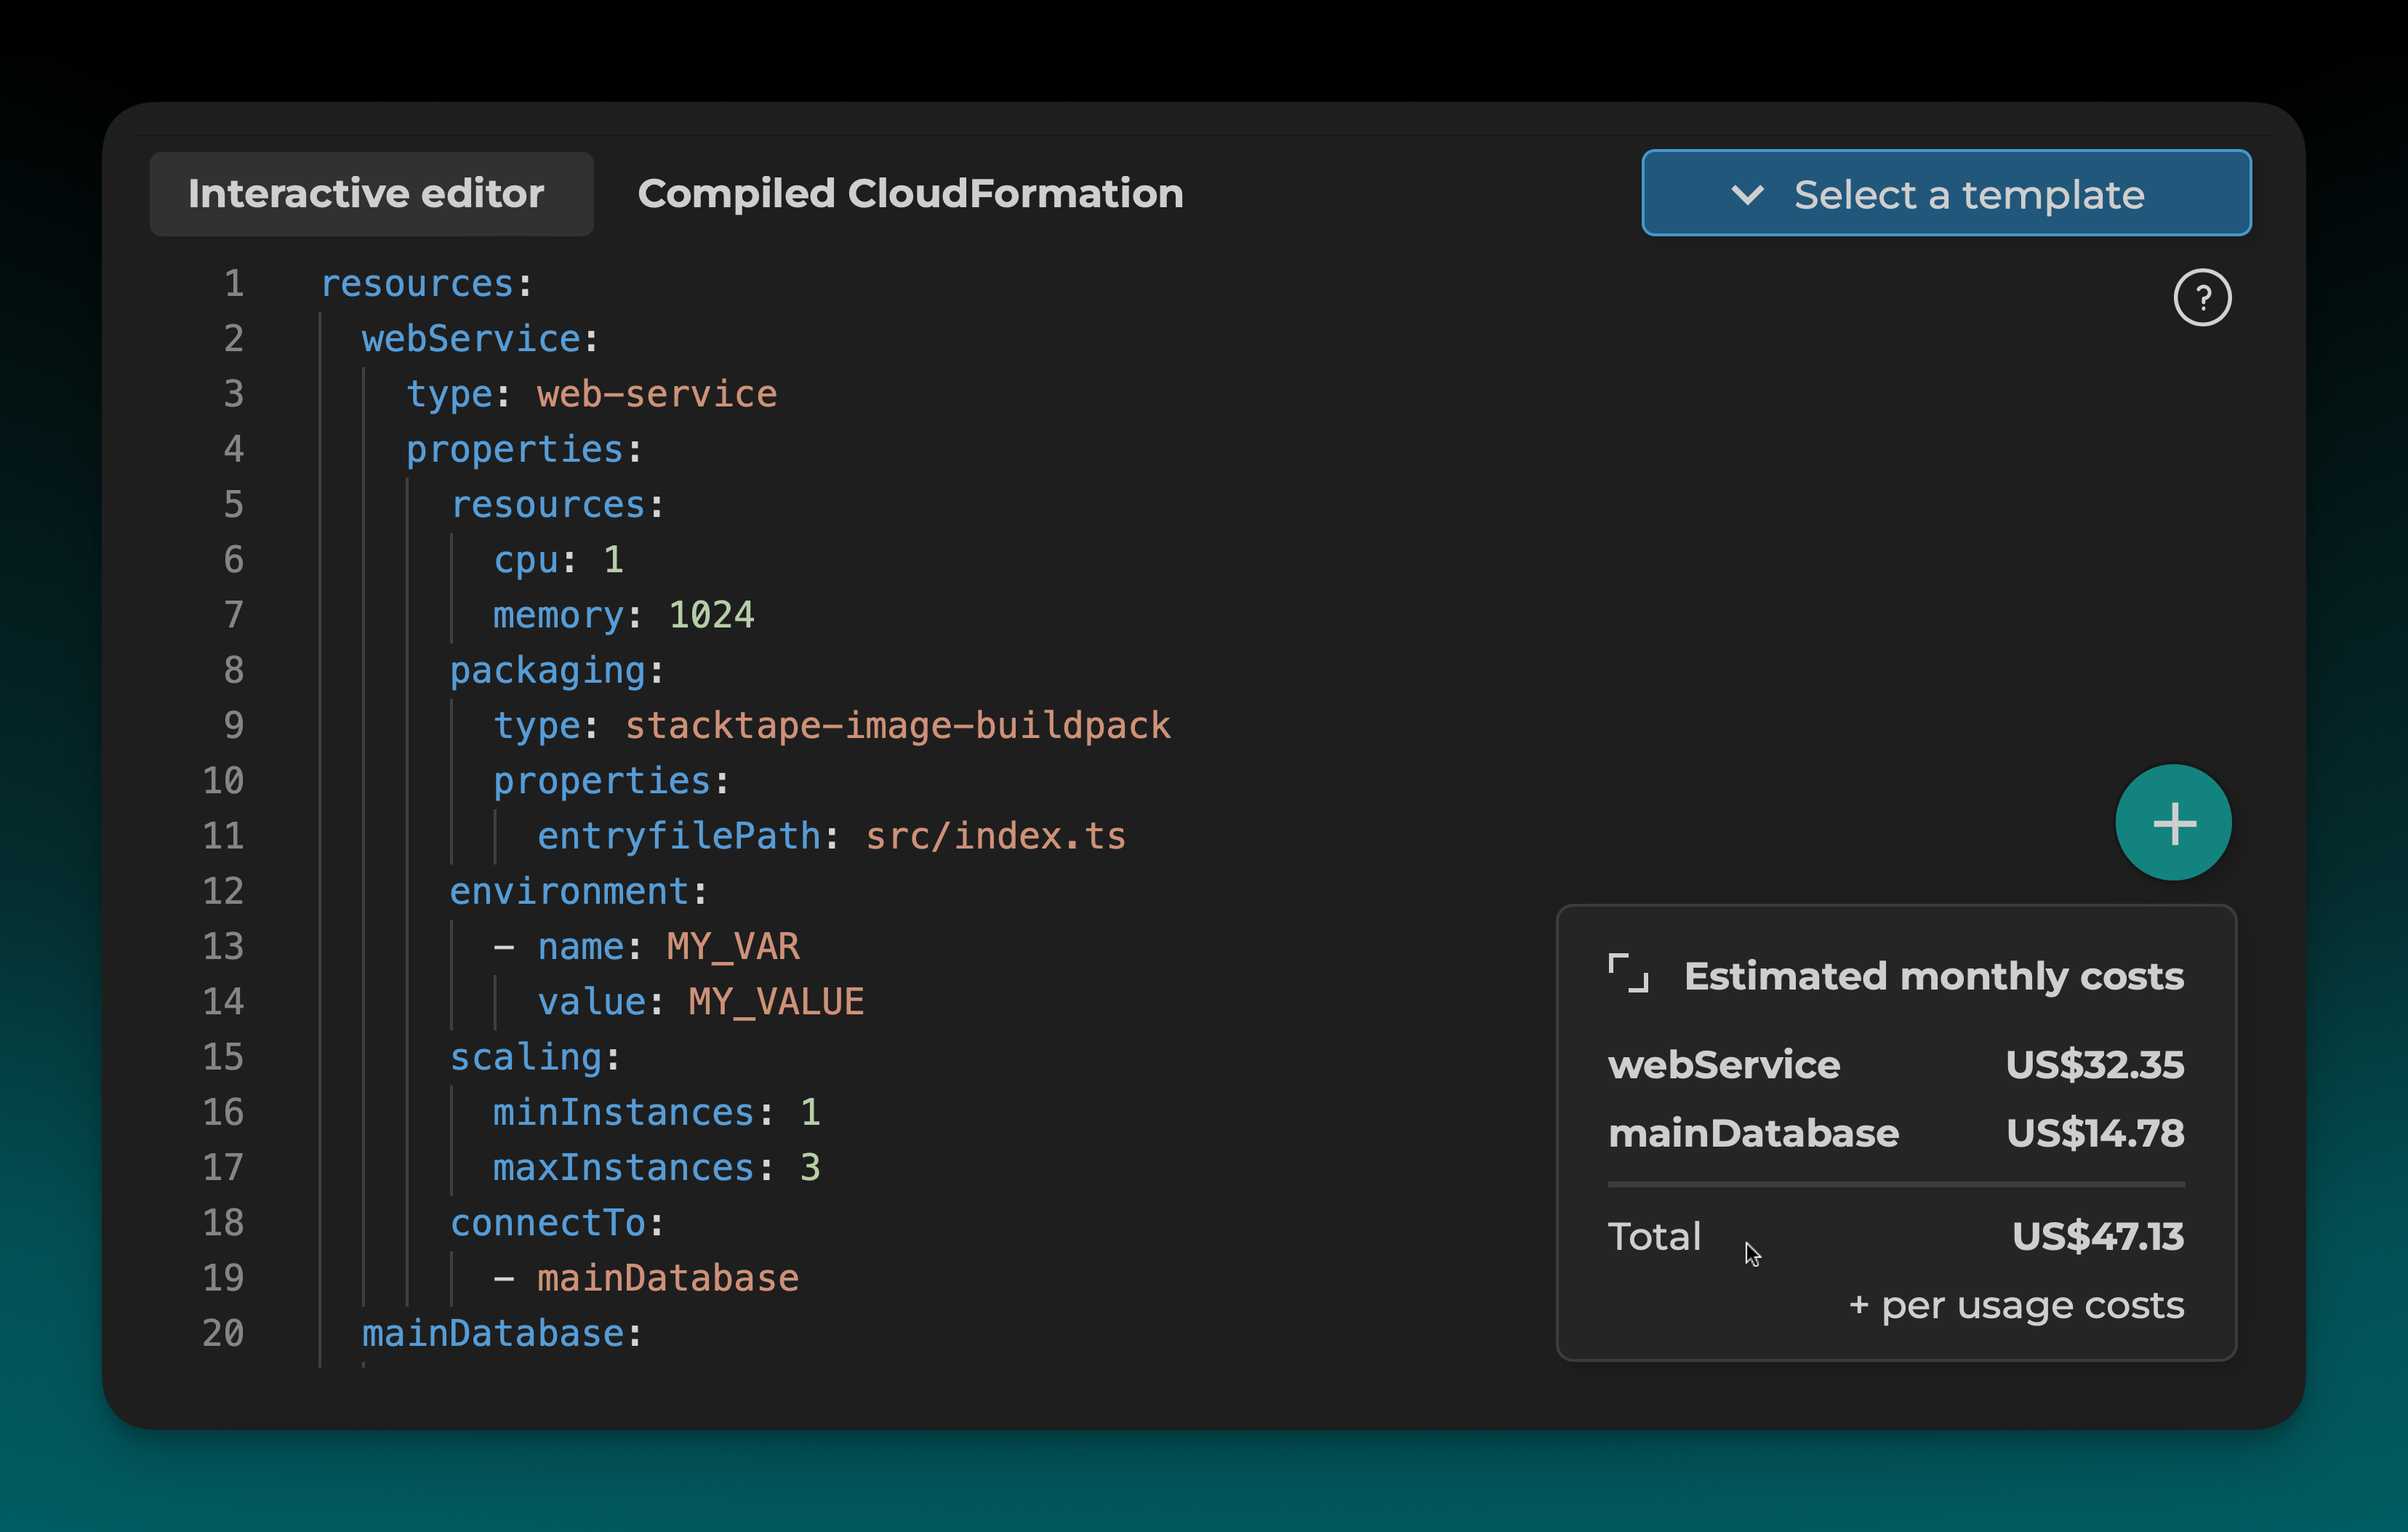
4. Estimate Costs
As you configure your resources, the editor will automatically estimate their monthly cost.
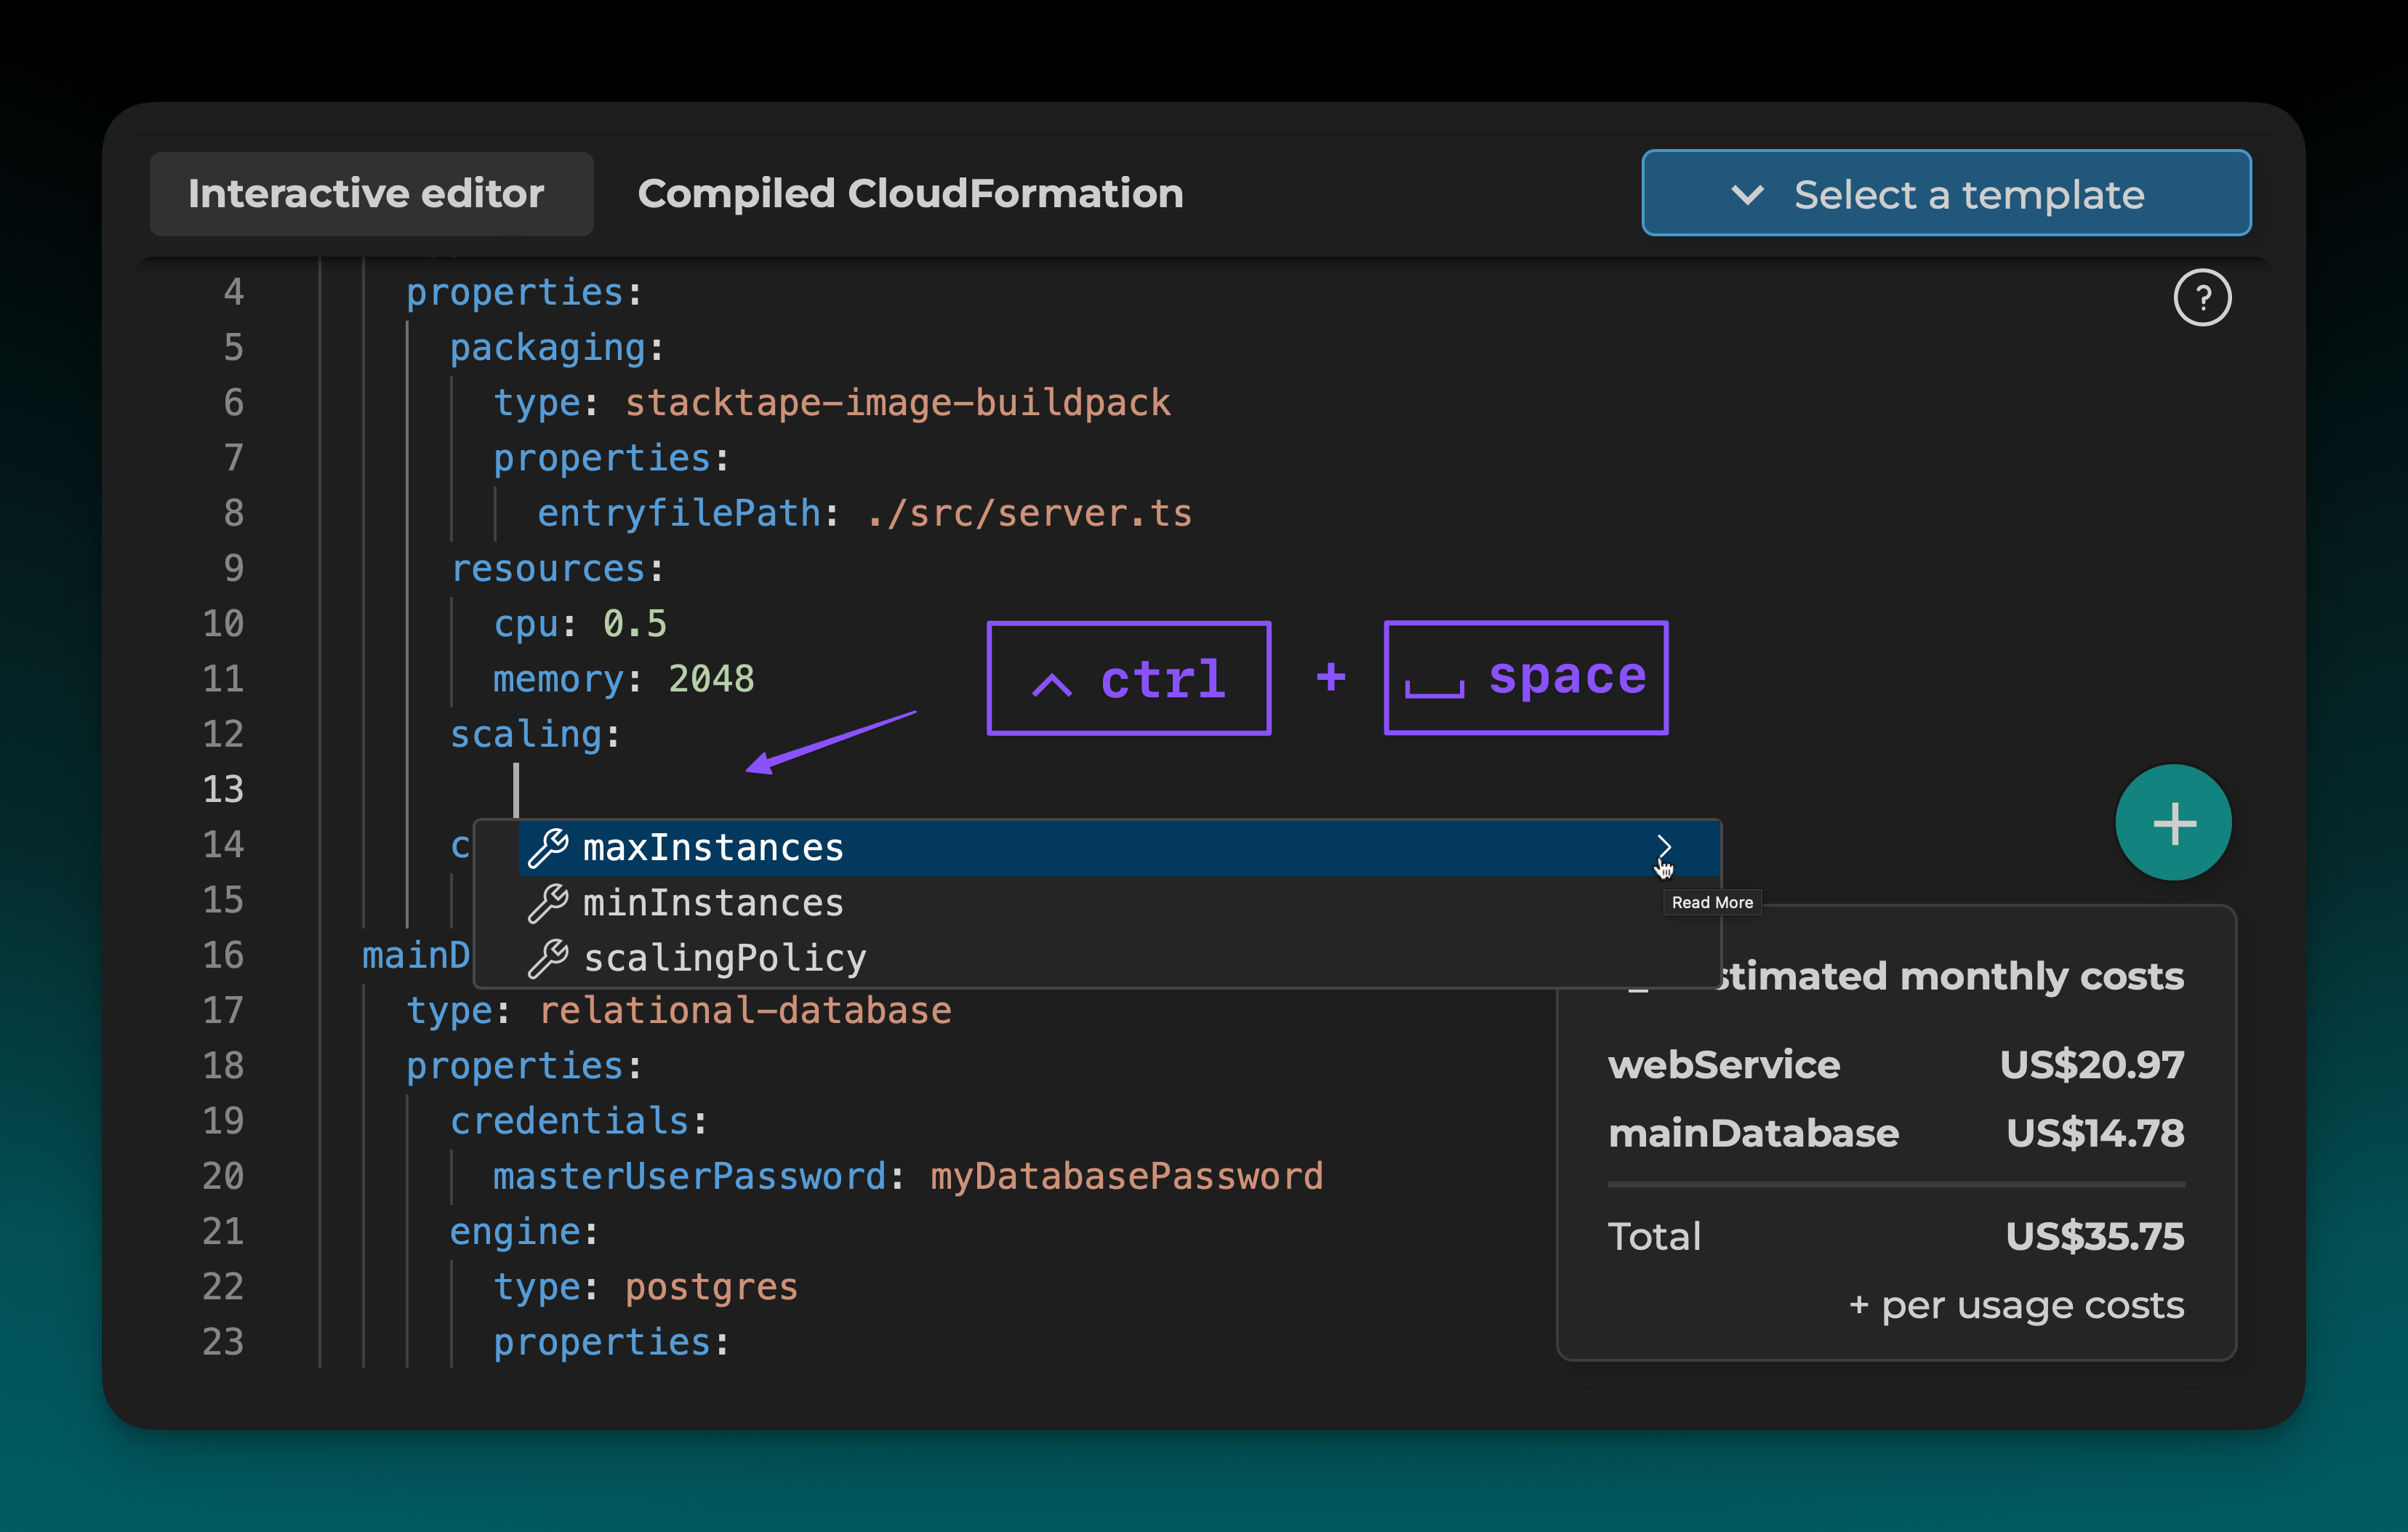
5. Add More Properties
To see all available properties for a resource, you can trigger auto-completion by pressing Ctrl + Space.
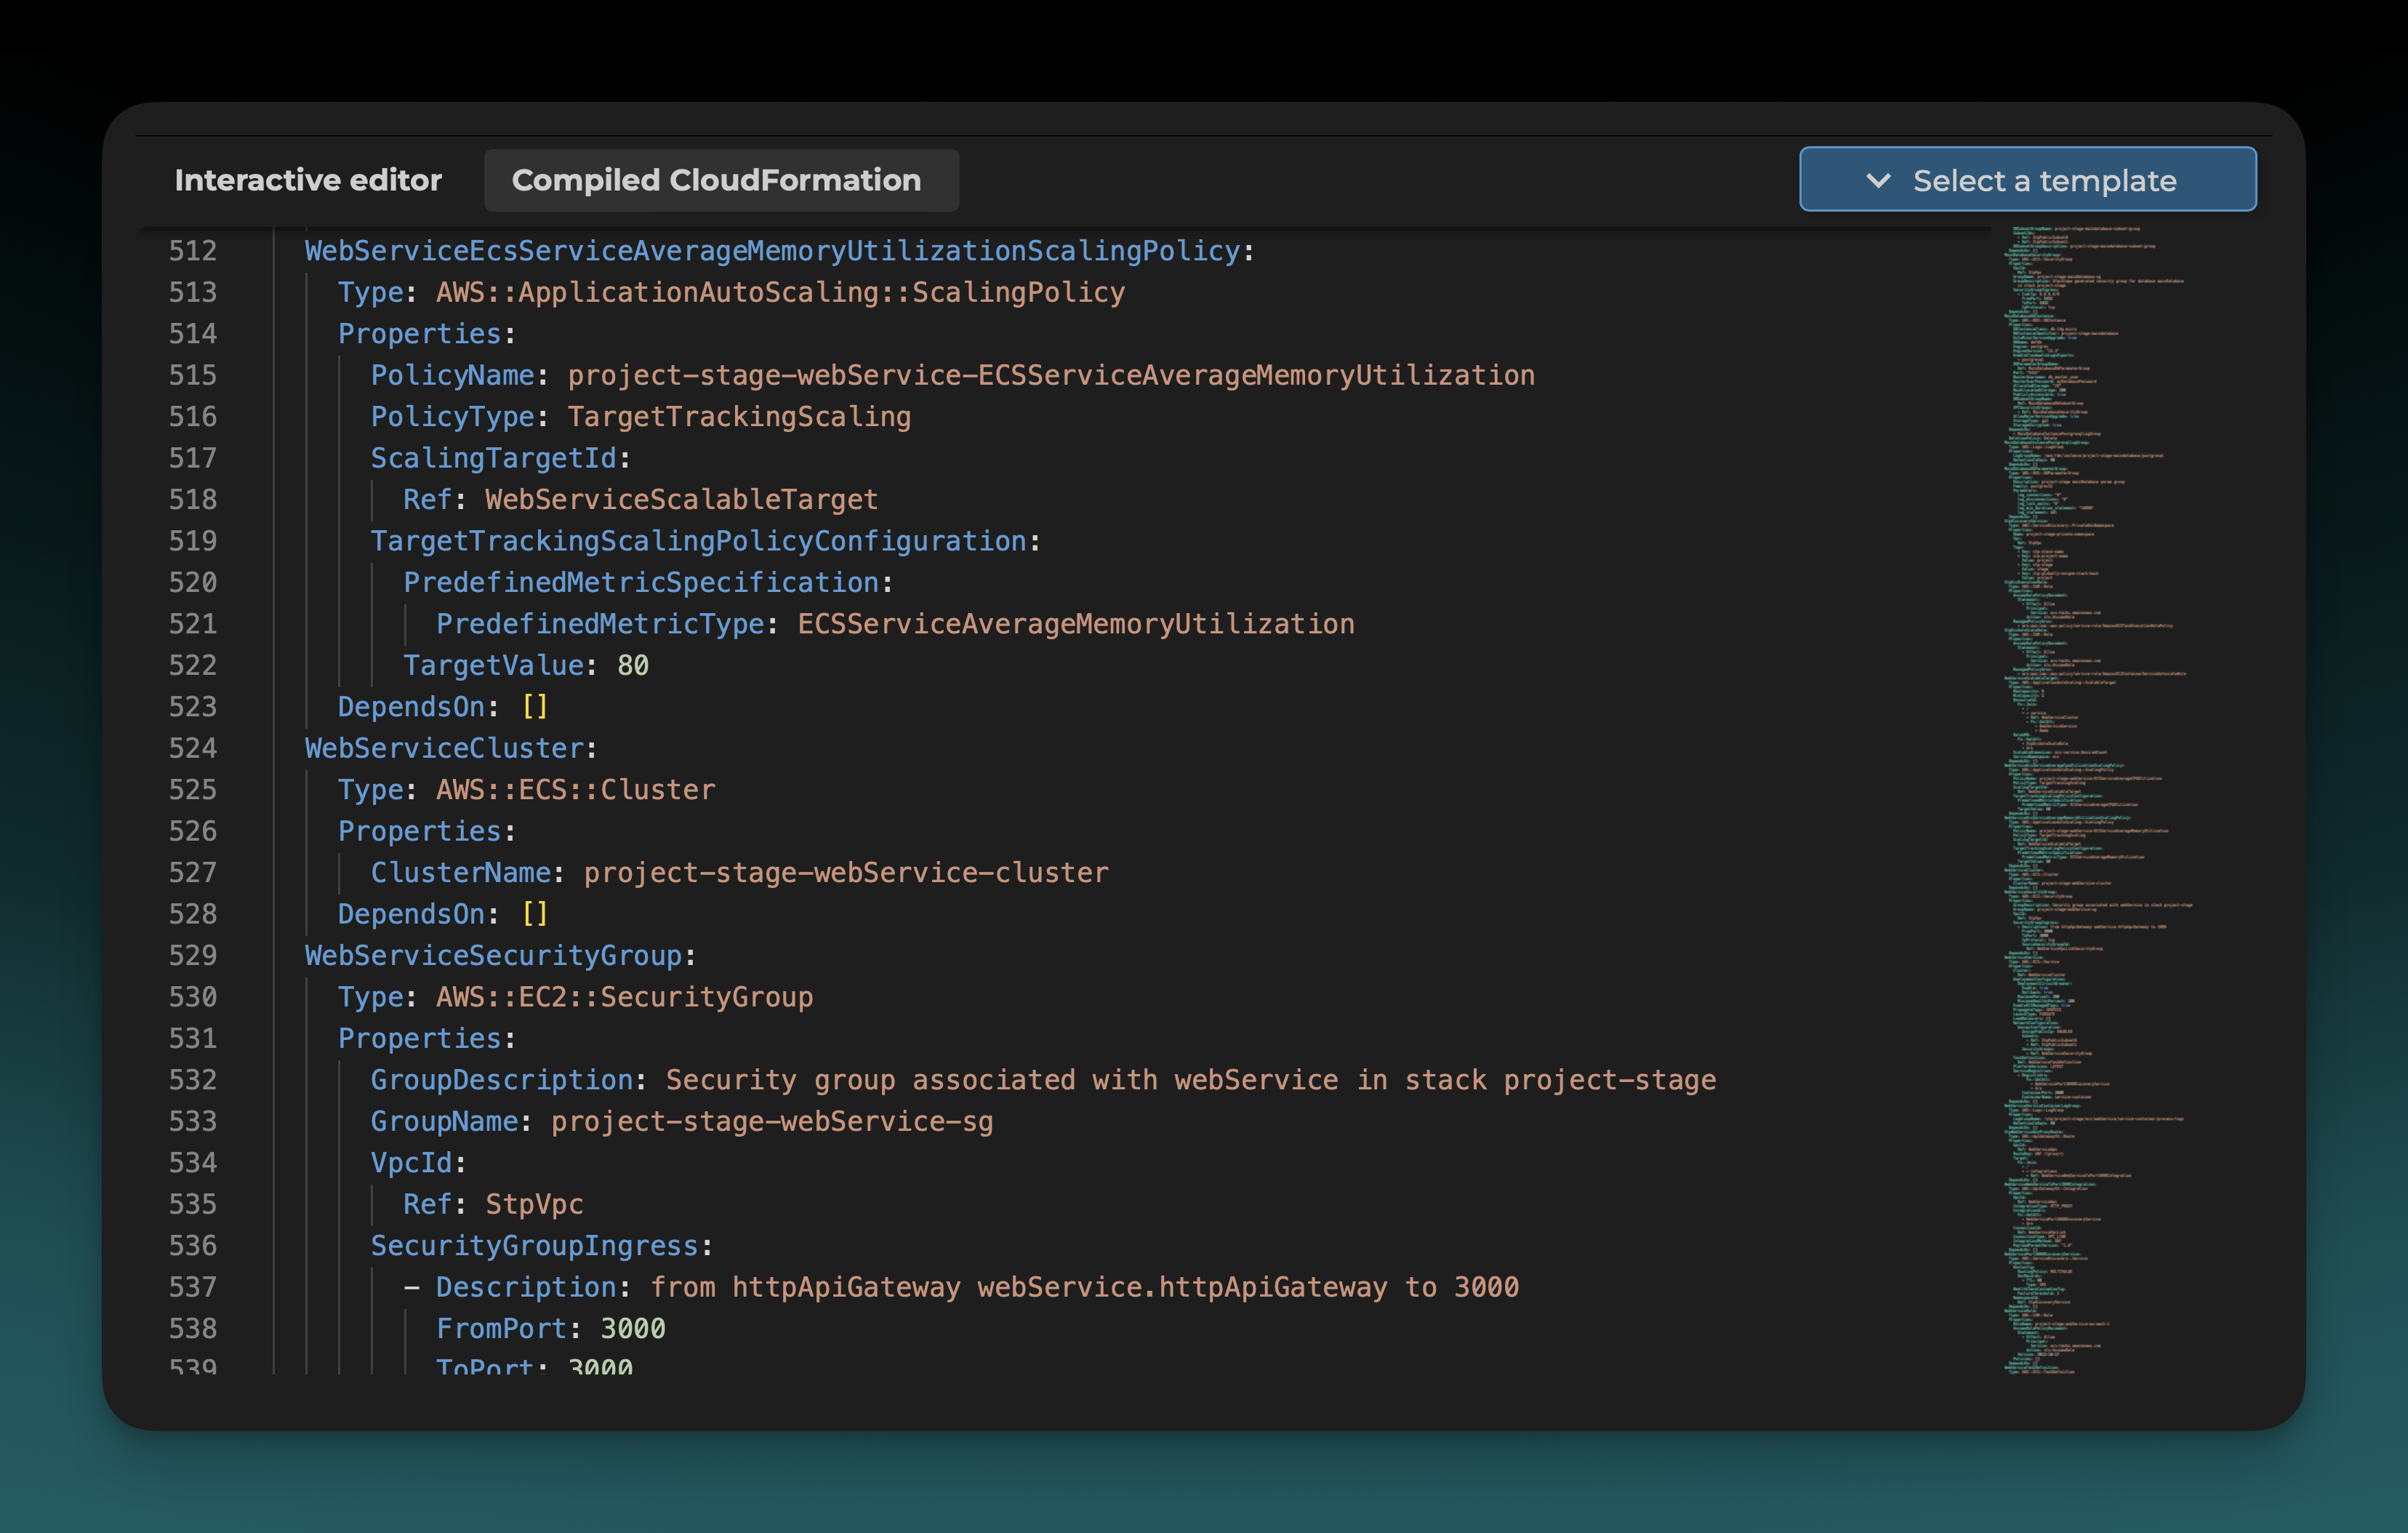
6. View Generated CloudFormation
Click the Compiled CloudFormation tab to see the generated CloudFormation template for your stack.
Note that this template is not 100% correct, and the one that Stacktape uses for your application will differ slightly.
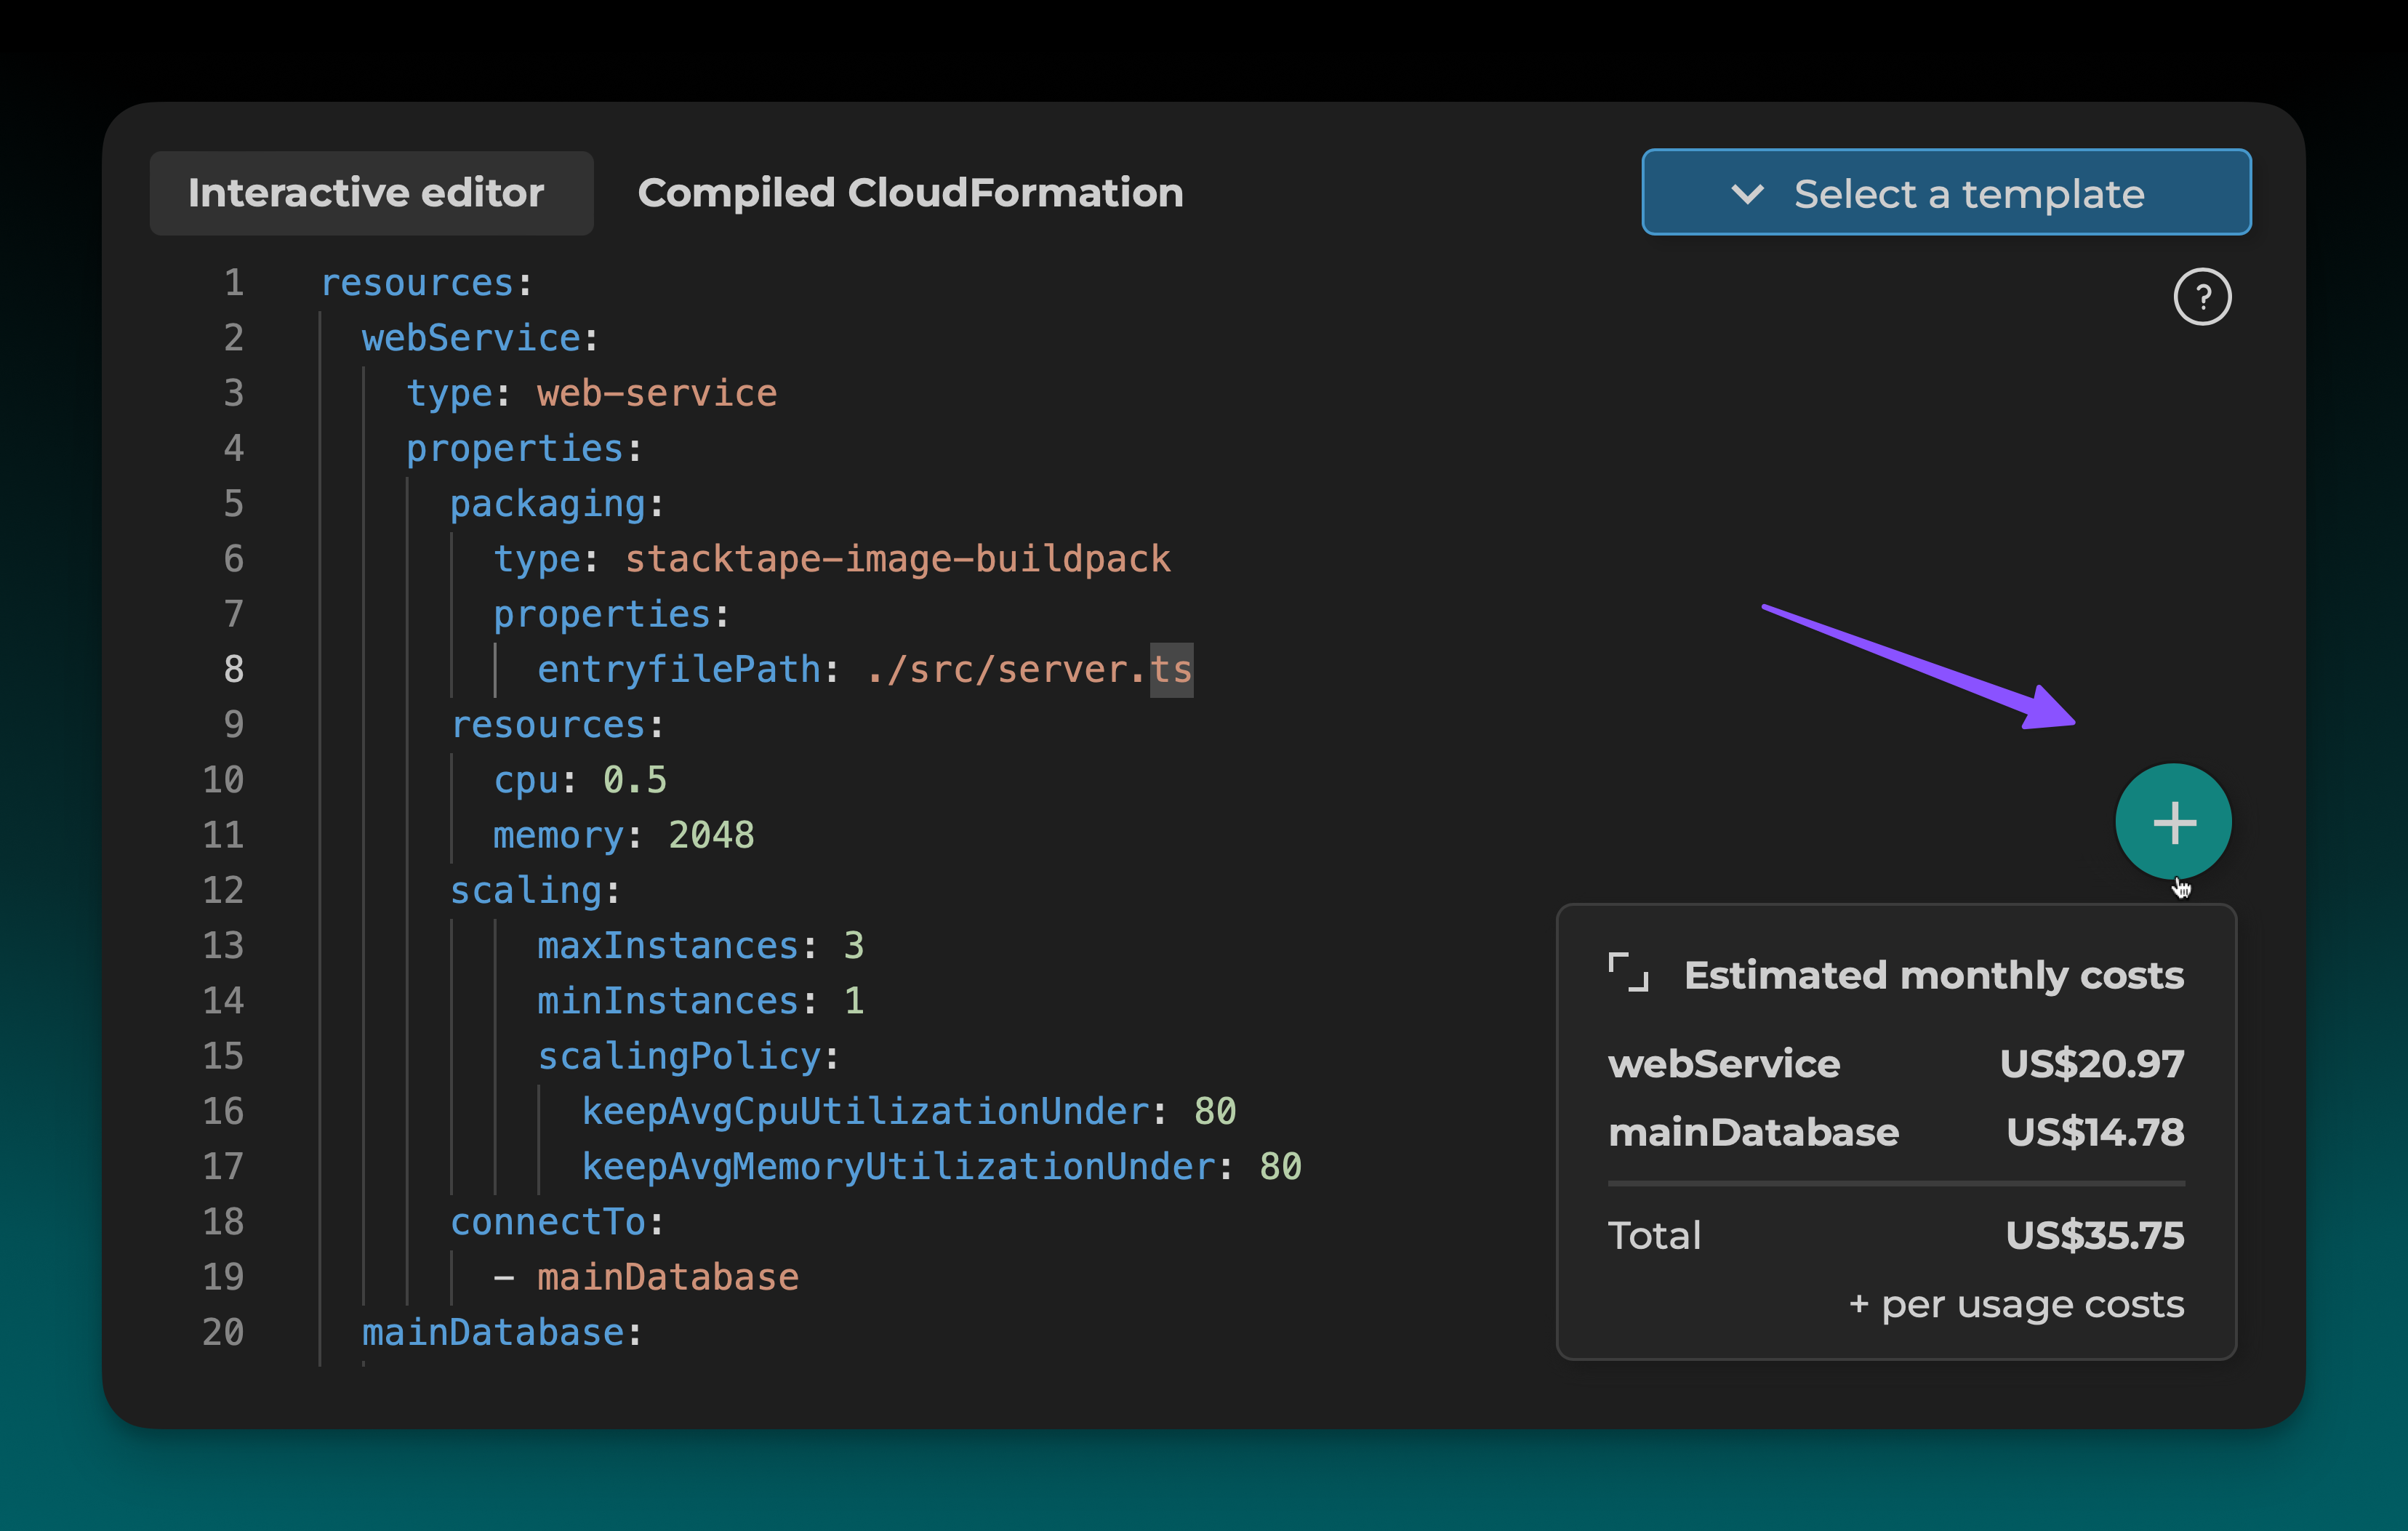
7. Add More Resources
Click the + button to add more Stacktape or CloudFormation resources to your stack.
8. Add Deployment Scripts
You can also use the + button to add deployment scripts for tasks like database migrations.
